Where to Put the Camera to Film a Volleyball Game
Almost every team has filmed a match at some point, and almost every team has then concluded that the footage is useless. That is rarely the camera's fault. It is where it stood, how high it was, and whether someone panned along with the ball.
The position that always works
Put the camera behind the end line, centred on the width of the court, and high. From there you see the depth of the court, both teams' positions relative to each other, and the net as a line straight across the frame. That is exactly what you need to say anything about positioning, rotation and defence.
Filming from the side gives you prettier pictures of a spike and almost no usable information: you cannot see whether a player was in the right place, and half the court disappears behind the players. Filming from the bench is worse still, because you are mostly looking at backs.
If the gym has a balcony or bleachers, the top row behind the court is almost always the best spot. If there is nothing to climb, use a tripod that reaches at least two metres, or clamp the phone to a railing or barrier.
Height matters more than distance
The rule of thumb: the camera has to look over the players. At eye level the back court vanishes behind whoever is standing at the front, and every rally turns into a wall of backs. From three to five metres up you see the whole court and the proportions are right.
Distance is less critical. Four to eight metres behind the end line works fine; further back is fine too, as long as both end lines stay in frame. What you really want to avoid is filming through the net — the camera will focus on the mesh instead of the players, and you only find out when you are back home watching it.
What has to be in frame
- Both end lines, the whole time. That is the test: if you can see where everyone is at any moment, your framing is right.
- About a metre above the net band. Balls that go higher do not need following; the action happens below it.
- The scoreboard, if possible. It saves an enormous amount of searching later. If that is impossible, call the score out loud towards the camera at every side change.
- No movement. Do not zoom, do not pan with the ball, do not 'just adjust it quickly'. A fixed shot of the whole court is always better for analysis than moving footage.
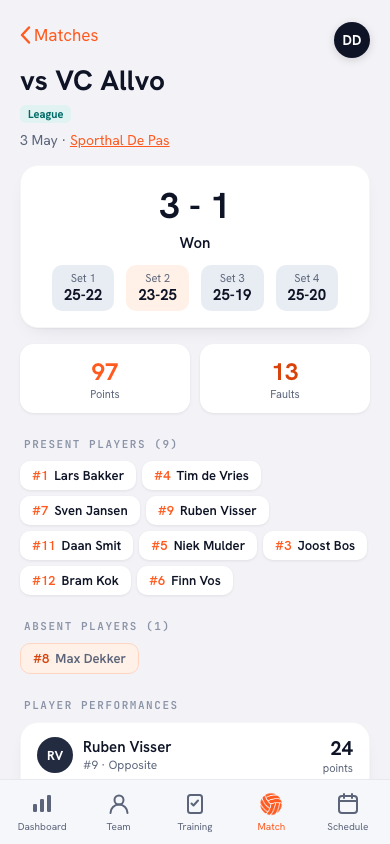
Footage on its own also leaves you searching. Video shows you what happened and numbers show how often — and the per-player statistics in Koach tell you which clips are worth looking for, otherwise you end up watching two sets back hunting for three rallies.
Settings you get right once
Hold the phone landscape, always. Vertical video costs you half the court. Choose 1080p at 50 or 60 frames per second over 4K at 30: smooth motion is worth more for technique analysis than resolution, and your file stays manageable.
Lock focus and exposure before you start, with a long press on the screen. Otherwise the camera hunts for focus on every jump and the exposure pumps along with the light fixtures. Turn on airplane mode so no call comes in, check your storage — reckon on roughly 1 GB per ten minutes at 1080p — and sort out power, because filming two sets takes a serious bite out of a phone battery.
The thirty-second test: film half a minute during the warm-up and watch it back on your phone. Can you see both end lines, is the frame steady, is it sharp? Then the rest of your afternoon is sorted. Those thirty seconds prevent nine out of ten failed recordings.
The mistakes that make footage worthless
- Filming at eye level. The back court disappears, and with it everything you wanted to look at.
- Panning with the ball. You lose the context, and context is what analysis is about.
- Filming into the light. A wall of windows or an open door behind the court turns your players into silhouettes. Move to the other side of the gym.
- Holding the phone. Even a steady hand produces footage that gives you a headache after twenty minutes. Tripod or clamp, always.
- Forgetting to start or stop. Make it a habit: start recording at the whistle for the toss, stop after the signatures.
Permission, and especially with youth teams
Filming for your own analysis within the team is usually unproblematic, but always mention it to the opposing team and the referee beforehand. With youth teams you need parental permission, and doubly so if you want to share anything outside the team. So only share footage in a closed environment, and do not just put it on social media — see privacy and data.
Once you have usable footage, use it deliberately: three thirty-second clips work better than rewatching a whole set. How to combine that with numbers is in the post-match review with data, and for scouting an opponent this approach is more useful than simply filming.
Frequently asked questions
Where do you put the camera when filming volleyball?
Behind the end line, centred on the width of the court and as high as you can get — the top row of the bleachers or a tripod of at least two metres. From there you see both halves of the court and where every player is standing.
How high should the camera be?
High enough to look over the players; three to five metres is ideal. At eye level the back court disappears behind whoever is standing in front and the footage becomes useless for analysis.
Can you get usable match footage with a phone?
Yes, as long as it is steady and high enough. Film landscape at 1080p and 50 or 60 frames per second, lock focus and exposure, and do not zoom during play.
Am I allowed to film a youth match?
Mention it in advance to the opposing team and the referee, and with youth players make sure you have parental permission. Footage for your own analysis in a closed circle is a different thing from publishing on social media.